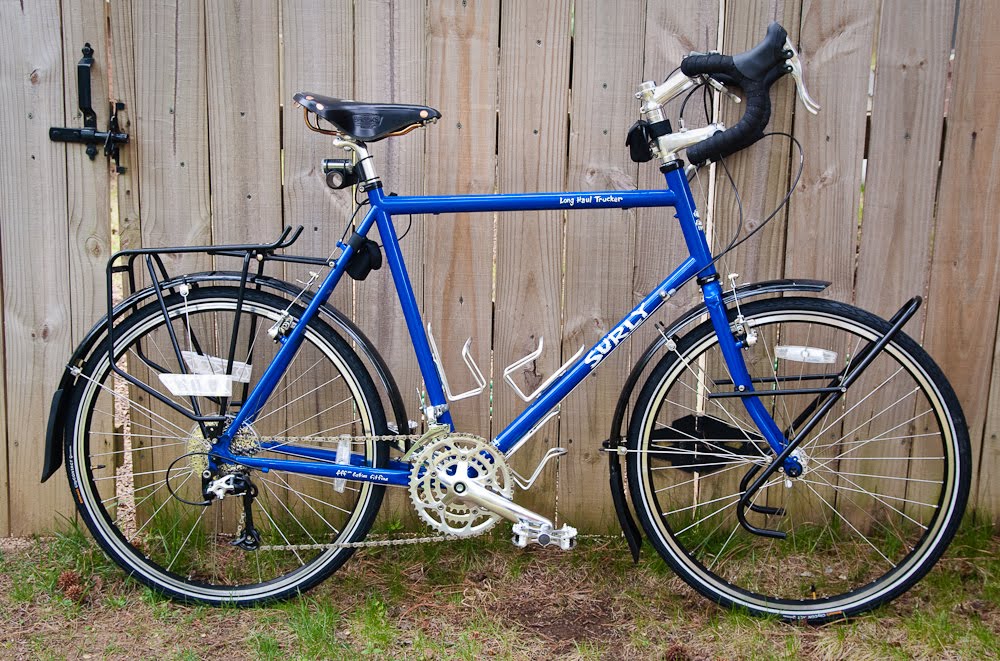
So this weekend I took possession my new Surly Long Haul Trucker (LHT for short) and wound up selling my old Giant Cypress hybrid bike to my friend Gordon. I bought the LHT (pictured at the top of this post) from Sam at The Community Cyclist bike shop in Little Rock and had him…
- change the stock brake pads out for some Salmon colored Kool-Stop pads
- add a second stem (with handle bar stub) that I can hang my handle bar bag from
- install the rear shifter on a Paul Component Road Thumbie
- install a interrupter/cross brake
The LHT is a touring bike that is supposed to be very comfortable to ride day after day and it had a reputation of carrying all your camping gear with nary a complaint. When Aly rode part of the recent Arkansas Bicycle Club “Touring 101” trip, she noticed that the 15 or so bikes were evenly divided between Truckers, Bike Fridays and Everything Else.
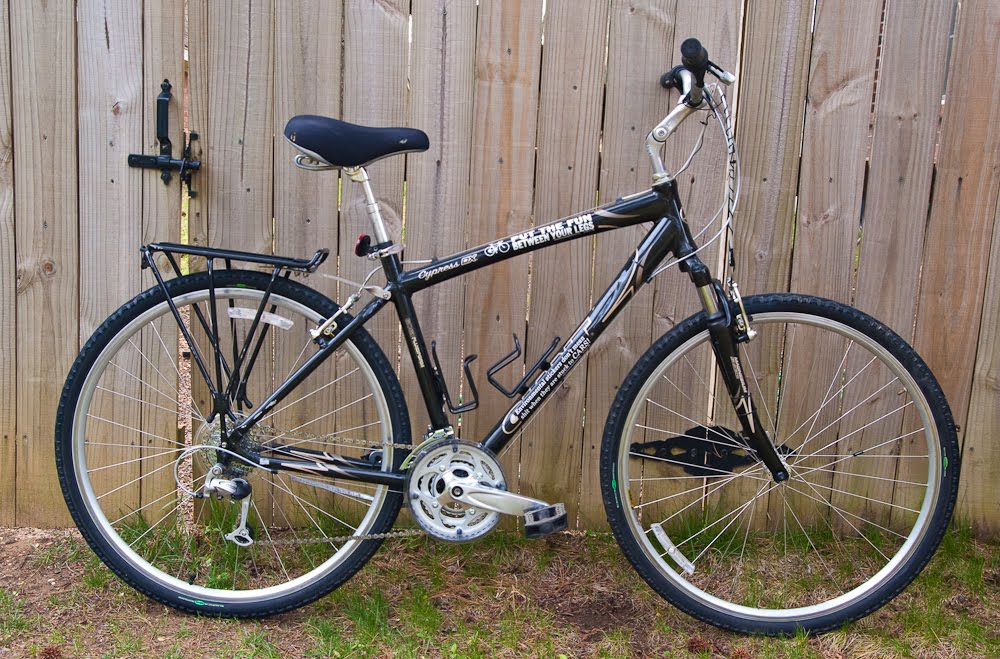
Here’s the final photo of the old Cypress. My last ride on it was when Aly and I rode the Forest Service roads near Lake Sylvia. Funny thing is that was really the first time I had ridden off road and, thanks to the Cypress, I enjoyed it a lot. I can definitely see a mountain bike of some sorts in the distant future.
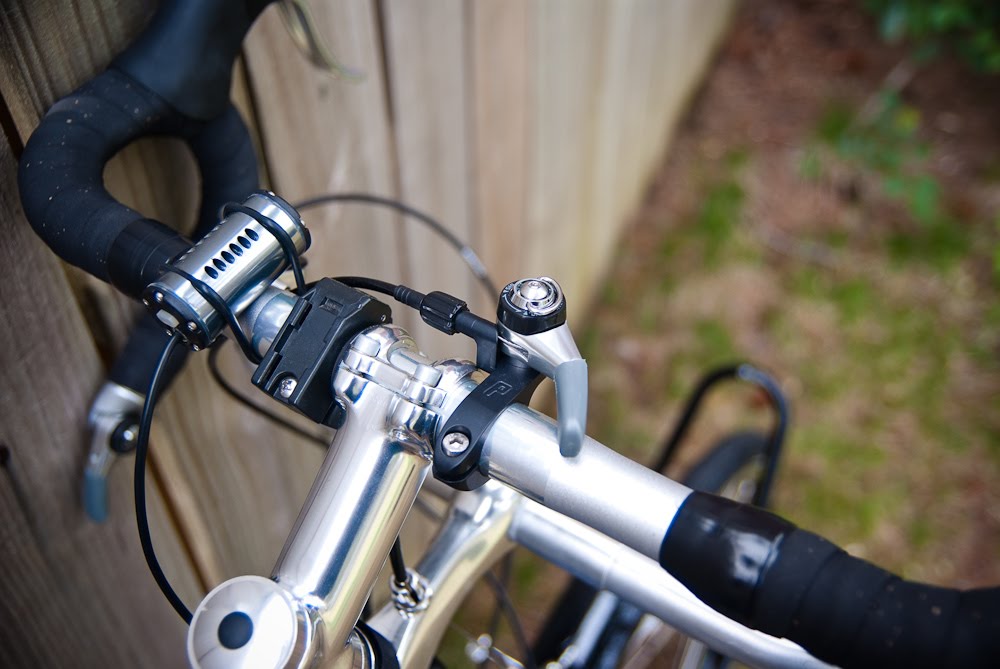
Below you can see the cockpit of the new bike, with the handle bar stub, the Thumbie and the cross brake. Sam left the stub a little long and I believe I’ll either cut it shorter myself or bring it back in so he can do it. Better too long than too short though since it’s way easier to trim than glue (c:
The second stem was drilled to allow the brake cable to pass through and then tapped to allow it to function like a barrel adjuster.
I had Sam leave the steerer tube uncut so I could start out with the handle bars up high and lower them over time as I get used to riding with drop handlebars. The higher handlebars should also be more comfortable over longer distance.
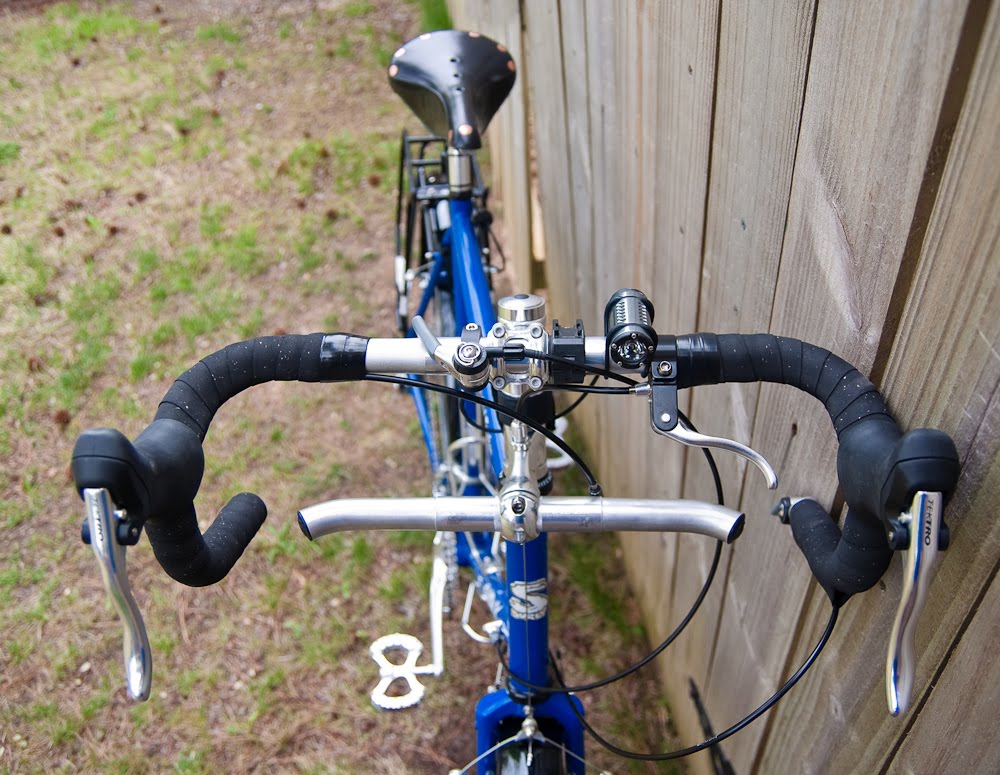
This close-up shows the Thumbie a little clearer. The theory behind the Thumbie and the cross brake is that cyclists tend to ride in the “tops” the most and these changes place your two most commonly used controls (rear shifter and front brake) right at your fingertips.
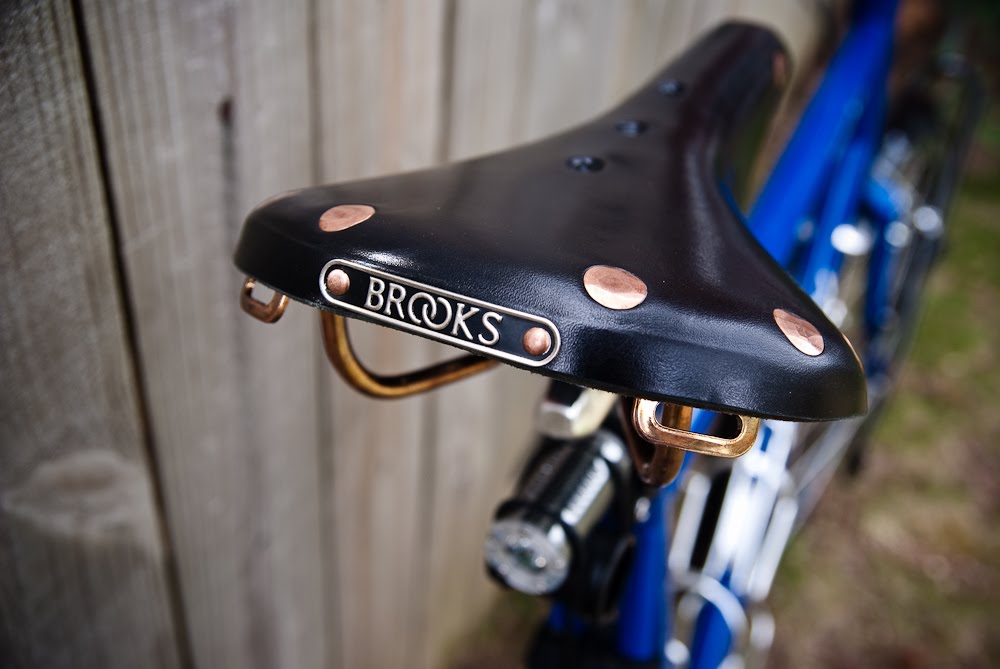
I added a black Brooks B-17 Champion Special saddle that I purchased from Wallingford Bicycle Parts in New Orleans (Ed: Closed as of 2016 due to retirement). They have a no questions asked, SIX-MONTH return policy on their Brooks leather saddles. So that means if my tush fails to adapt to the leather saddle (which is supposed to be one of the most comfortable saddles for long distance riding…. once it’s broken in) then I can return it and either try another model (like one with springs) or just give up entirely.
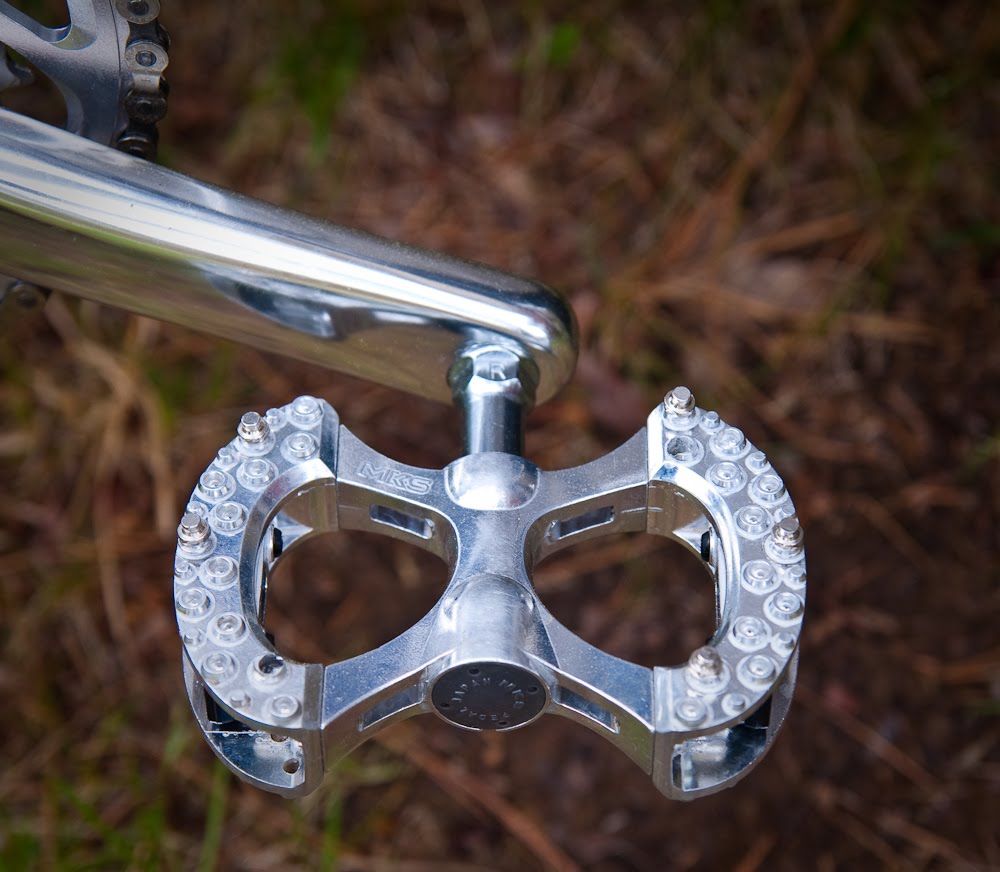
This bike is going to start out with some MKS Grip King pedals from Rivendell Bicycle Works. I added blunt spikes to the pedals to make them even grippier and so far they have been very nice to ride no matter what shoes I’ve used (sandals, tennis shoes and dress shoes). I included some notes at the bottom of this post on the installation process.
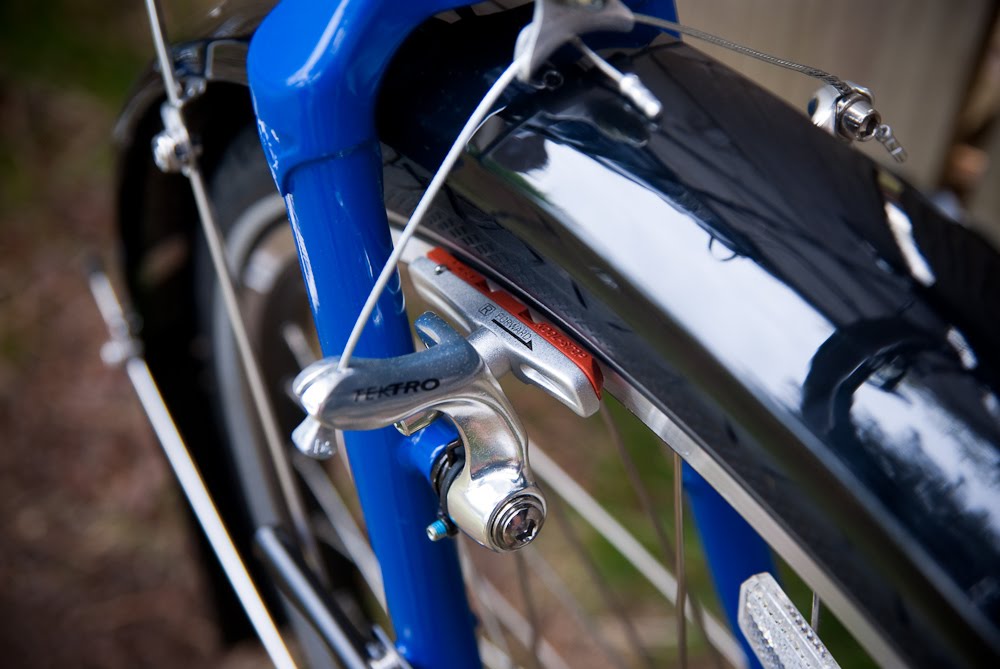
Here’s a shot showing the Salmon Kool-Stop V-brake shoes and pads that Sam installed and the Planet Bike Cascadia fenders I put on. I’m still not clear why he wanted to go with V-brake shoes (which are thinner) instead of the traditional cantilever pads (which are about twice as thick).
Here’s the current “build list” for the Trucker…
2010 Long Haul Trucker
   Size: 56cm with 26" wheels
   Color: Velvet Blue
Comfort...
   Black Brooks B-17 Champion Special saddle
   Planet bike Cascadia fenders (black)
   Uncut steerer tube
Drivetrain/Brakes/Shifters...
   Front Cross/Interrupter Brake
   Rear shifter on a "Thumbie"
   Grip King pedals with blunt spikes
   Salmon Kool-Stop brake pads
Cargo Carrying...
   Second stem and handlebar stub
 Tubus Tara front rack
   Tubus Cargo rear rack (both racks from The Touring Store)
 Arkel handlebar bag ("big" size so it'll hold my dSLR)
 Ortleib Bike Packer Plus rear panniers (also bought from The Touring Store)
Safety/Other...
 Dinotte 200L headlight (AA batteries)
   Dinotte 140L tail light (AA batteries's)
 Velo Orange aluminum bell on headset spacer (not installed yet)
   Topeak Turbo Morph pump (not installed yet)
 Click-Stand "kickstand" (not installed yet)
Vanity...
   Fork, chain stay and seat stay decals were removed
Grip King Spikes – Installation notes
Installing the blunt spikes was fairly easy though I used a different method than specified on the Rivendell website:
- I used a 3/32″ drill bit to make a pilot hole
- Then a 1/8″ drill bit to enlarge the hole. This way the hole stayed in the middle of the nub.
- Next I used a pair of vice-grips to start the spike in the hole.
- When the spike was gripping good, I switched over to a 6mm socket and drove the spike the rest of the way in.
One Reply to “Feeling… Surly!”
Comments are closed.